How To Make A Weighted Blanket:
DIY Guide
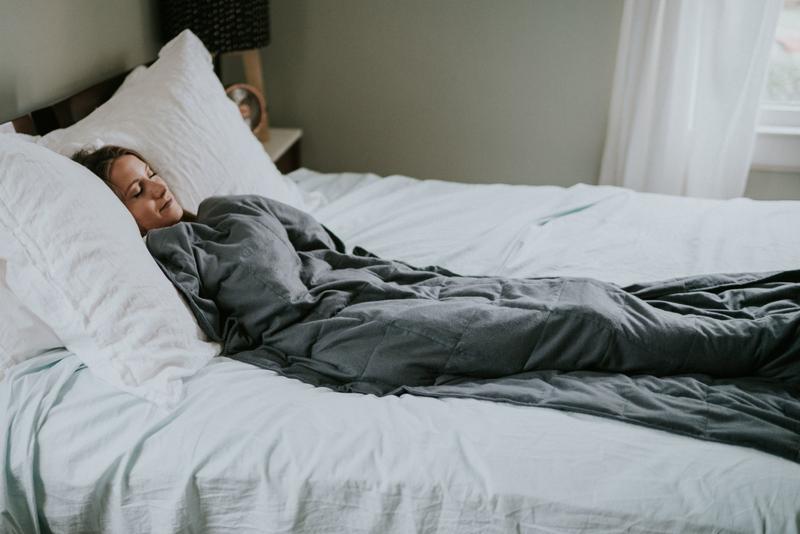
Over the past few years, weighted blankets have become a necessity because of the proven health benefits for those who use them. They provide a relaxing feeling for those who are having a hard time falling and staying asleep.
On the other hand, you might get surprised at how much they can cost. For starters, the cheapest can range from $50 and $300 depending on the materials used, the type of fabric, and weight. But, if you’re short on budget and want to have one, you can actually make one on your own!
They may take some time and effort to make, but they’re definitely worth it. It’s less expensive, and you can enjoy the time making your very own from scratch. A blanket can come in various sizes, colors, materials, and weight, to best suit the needs of the people who’ll use them. There are numerous options, depending on your needs and wants. First off, you should decide what material you want, and from there, it’s time to do some shopping. If you’re interested in making your homemade DIY weighted blanket, continue reading this article and find out how to do so!
Why DIY a Blanket?
Weighted blankets offer many benefits, but they all originate with Deep Touch Pressure (DTP). When it comes down to the body’s nervous system, DTP helps you calm down and relax. By creating these light-touch sensations, the body is stimulated to produce serotonin, promoting better sleep overall.
Even though it’s not scientifically proven that weighted blankets relieve stress and help with sensory disorders, they’ve been a great tool for managing anxiety, insomnia, autism, ADHD, etc. Creating your own blanket means making sure you use the best materials available on the market but stay within your budget. Next, we’ll talk about the materials, fillers, and guides you need to create a homemade weighted blanket.

How to make your own weighted blanket?
Creating a homemade weighted blanket requires no special skills, which is why everyone with the right materials and time can make one. You may become hesitant to make your own because you’re unsure of what to do. Don’t fret, this tutorial will let you know how to assemble such a product.
Creating a homemade weighted blanket requires no special skills, which is why everyone with the right materials and time can make one. You may become hesitant to make your own because you’re unsure of what to do. Don’t fret, this tutorial will let you know how to assemble such a product.
Choosing the right Size
First off, you need to determine the size of your blanket. Make sure you know how big and heavy it should be. For those who want a portable cover, make sure it’s smaller than your bed. Also, you don’t want the edges to fall off the bed, which can be very uncomfortable on your part.
Having excess fabric hanging off the side is a waste of materials, but most importantly, it can be a difficulty during nighttime because of its adjustment. In our opinion, a good rule of thumb when measuring is the “chin to heel.”
By doing so, you ensure that the pressure from the blanket hits all of the body’s DTP points without covering the face. However, there are occasions in which you will need a half-size version to drape over the shoulders or another part of the body.
Choosing the right Weight
After you’ve determined the length, your next step will be determining the needed weight. The best way to do so is to calculate 10% of your body weight. However, we would like to remind you that this is just a recommended guideline.
There are situations in which the weight will depend on an individual’s unique needs and how comfortable they are underneath such an item. You have to think about how a person responds to pressure so that the blanket can be counterproductive.

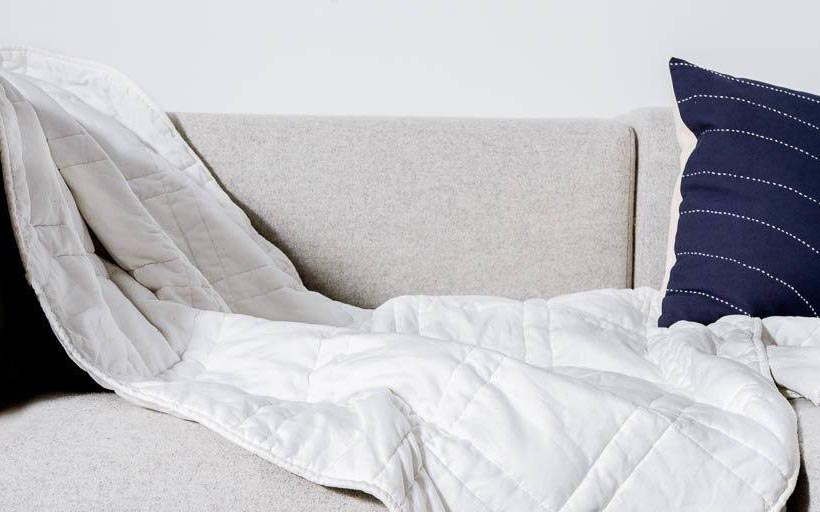
Selecting the Appropriate Materials
As you probably know, there are numerous types of fabrics out there. Any fabric store will have a large variety of products to look through when choosing yours.
Often weighted blankets are used for people with sensory sensitivities, so it is crucial to select the appropriate fabric. Suppose the person who’s going to use the blanket has a sensitivity to fleece. In that case, it’s probably better to use another material for the blanket, so that they can be calm and comfortable.
Next, you’ll have to consider the environment and if the person is a “hot sleeper” or not. This DIY project is perfect since you can tailor a product to the individual’s needs and preferences.
Picking the Fillers
When you get to the filling options, there are a few things you have to consider. First, think about the weight and price per unit.
If you’re thinking of using organic materials such as rice, beans, or pasta, you have to take into consideration that even though they are inexpensive, they are significantly lighter. That on its own can add a lot of volume to the blanket.
Next, you should think about durability. In our opinion, this is the essential aspect when it comes down to fillers. Materials like rice and beans won’t last as long. They’ll lose their shape and most likely attract insects and mildew.
Consider spending a few extra bucks and purchase steel or glass beads, so your item lasts longer and can be washed.
How to Sew a Weighted Blanket?
Once you’ve determined the length, weight, material, and filling, it’s time to start making your DIY weighted blanket. We strongly advise you to wash, dry, and iron the material you’re using before measuring or cutting it.
You want to be able to take an accurate measurement, which is why the instructions above are important. Next, we have a Step by Step Instructions Tutorial on how to make your own weighted blanket. Let’s get started!
5 Easy Steps for Creating your Own DIY Weighted Blanket
In this part of the article, we’ll give you informative instructions on how to gather the materials you need, the best way to measure fabric, how to make a grid, how to stitch and fill your blanket.
1. Gather the Materials
Needed Products for a Homemade Weighted Blanket:
- Fabric
- Filling
- Scissors
- Tailor’s chalk
- Measuring tape
- Scale
- Sewing machine
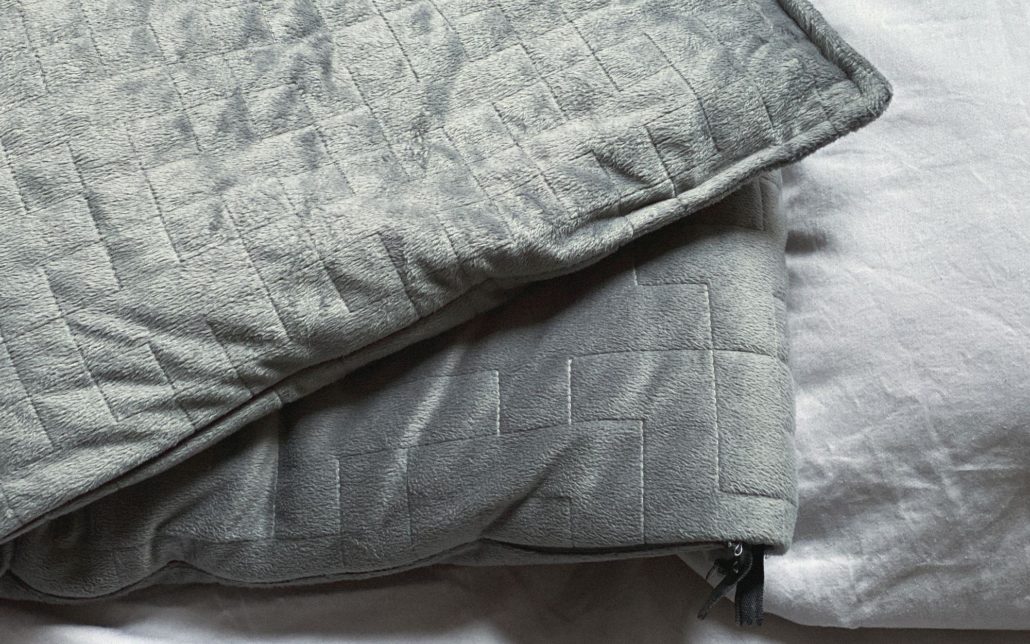
In our case, we’ve picked poly pellets since they are durable and affordable. Today we’ll be making a 13Ibs blanket, but we recommend you to purchase a 15Ibs bag. The reason for that is, creating a blanket at home can be messy, and inevitably, you will spill some filling in the process. Save yourself a headache and get a pound or two more than you need!
2. Measure the Fabric
Our blanket will need to be 58 inches long and 26 inches wide to cover the individual from “chin to heel” comfortably. Keep in mind that you need a one-inch margin all around the material for binding. We ended up choosing a plush fleece fabric, and we purchased 5 yards from it.
That’s plenty to go around! After you’ve measured the fabric for your blanket, you’ll have to cut the material into two pieces with the right dimensions. Stack them on top of each other and follow the next step.
3. Make the Grid
Now it’s time to use the tailor’s chalk and measuring tape to mark your columns every four inches down the blanket’s length, but don’t forget about the one-inch margin. After that, you have to do the same thing across the vertical rows.
Once you’re done with the marking, you should have designed four by four-inch squares across the entire blanket. Those squares are going to be used as pockets, which will hold your pellets.
4. Start Stitching
Now that you’ve marked the grid of your pockets, it’s time to stitch the two sides and the bottom of the blanket closed. After that, you’ll want to start sewing along the vertical lines, which you’ve marked along the length of the fabric.
Once you’ve stitched all the vertical columns and three sides of the blanket have been stitched shut, you should have ended up with many long rows of open pockets. If that’s the case, it’s time to start filling your incredible creation!
5. Fill the Blanket with Weight
We’ve sewed these pockets so that we can evenly distribute our filling throughout the blanket. However, this is where things get tricky.
Let’s use our basic math skills. How many four-inch squares did you end up with? Did you choose the same weight as us (13Ibs)? Divide the number of squares by the number of pounds you need to distribute. In our case, that turned out to be 10 ounces per square.
For the next step, you will need the scales we mentioned above. We’ll be using kitchen scales since they accurately measure out the right amount of filling we need. If you don’t have one at home, improvise and use a spoon or measuring cup, all you have to do is convert pounds into ounces.
Once you’ve filled the pellets, make sure they fall all the way to the bottom of the blanket, then stitch the fabric on that first horizontal row of the grid and continue with the next one until you’re ready. By doing each row individually, you ensure even distribution throughout your weighted blanket.
If you’ve carefully followed our steps, you should have created your new fantastic blanket!

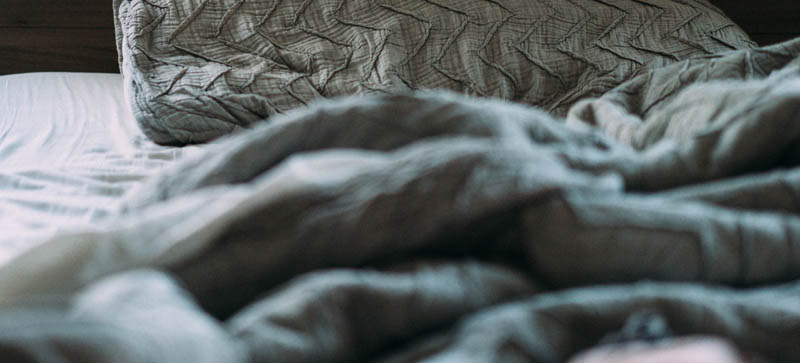
How to Create a Washable Weighted Blanket?
Even though this might not be one of the things that come to mind when you decide to make your own blanket, it will inevitably arise as a factor. Most store-bought options are washer- and dryer-safe, but it all depends on the fabric and filling at the end of the day.
If you’ve decided to use organic materials, keep in mind that they won’t fare well in water. Moisture will most definitely cause them to clump together, and mildew will occur. However, if you choose glass beads or poly pellets, you can safely wash and even dry them on low heat.
If you ended up making a hefty blanket, it’s best to take it to a laundromat, where the machines can handle the weight. We don’t recommend putting put a blanket heavier than 20Ibs in a household washing machine.
Since the blanket is homemade, it’s better to spot clean the stains and let it air dry to last as long as possible. You don’t have to wash a weighted blanket that often (4,5 times a year will be fine), but airing it out every once in a while will let it stay fresh without losing its shape.

Other Considerations for your DIY Weighted Blanket
Even though weighted blankets are great for all kinds of sensory sentiments, they aren’t safe for children under the age of 2. Don’t e tempted to try a small blanket to comfort your toddler! Babies aren’t developed enough to withstand pressure for long on their own, which can be very dangerous. With toddlers, there is even the risk of suffocation. So be careful and don’t take any chances.
Another thing that you should consider is a separate blanket for you and your partner. The reason for that is, weighted blankets are beneficial if they are the appropriate weight, but if you and your loved one vary a lot in weight, then the benefits from DPS won’t happen.
If you are set on having a couples cover, take a look at: “Top 5 Weighted Blankets for Couples – Tips and Benefits.”

Should You Make A DIY Weighted Blanket At Home?
Weighted blankets are beneficial for people with sleep disorders and those suffering from certain conditions. They were proven to alleviate specific symptoms of anxiety, depression, autism, and ADHD, to name a few. They might help ease some of the menopause symptoms as well!
Today they are quite in demand, and they can get quite expensive to buy, especially from a reputable source. As a result, many people with sleep problems, stress, and anxiety may have difficulty getting one, especially on a budget.
That’s why a homemade DIY blanket is an excellent way to reap the benefits of deep touch pressure without spending too much. If budget isn’t an issue or you simply don’t have the time to make one, here are the best weighted blankets compared.
There are many ways that can help you make your own product. The advantages are that they’re customized and personalized. This means that you can choose the type of material, fabric, color, and textiles you like.
They can benefit a lot of people, especially those who want to have a good night’s sleep, but the most important one is, providing a calm and relaxing environment to those who are suffering from mental health issues, sensory perception problems, stress disorders, and developmental problems in children.